A thermal camera is a valuable tool for diagnosing and maintaining refrigeration systems. By detecting temperature anomalies, thermal imaging helps identify issues like refrigerant leaks, blockages, electrical faults, and inefficiencies in cooling. Using a thermal camera provides real-time, non-invasive insights into the operation of your refrigeration system, allowing you to spot problems before they lead to system failures or inefficiencies. Here’s a guide on how to effectively use thermal imaging for refrigeration systems.
- Why Use an Infrared Camera for Refrigeration Systems?
Thermal imaging can help monitor and diagnose various aspects of refrigeration systems, including:
- Refrigerant leaks: Identifying areas where refrigerant might be escaping, leading to poor cooling performance.
- Component overheating: Pinpointing overheating components like compressors or motors, which could signal mechanical or electrical issues.
- System efficiency: Checking for uniform temperature distribution across the system to ensure efficient operation.
- Airflow issues: Detecting blockages or restrictions in airflow that may be causing uneven cooling or overworking the system.
- Electrical problems: Identifying hotspots in wiring or electrical connections that could pose safety risks or cause system inefficiency.
- Key Areas to Inspect in Refrigeration Systems
Thermal imaging can be applied to several critical areas in refrigeration systems to ensure proper operation. Here are the main components to inspect:
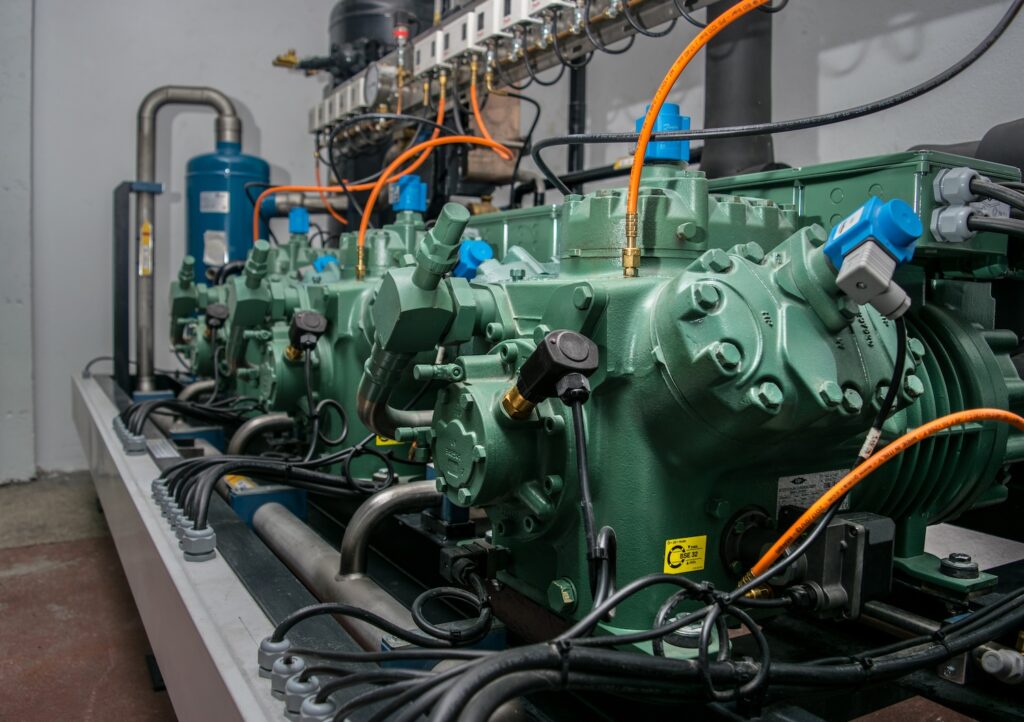
- Compressor
The compressor is the heart of the refrigeration system. It compresses the refrigerant, which then moves through the system to transfer heat.
- Inspect for overheating: Scan the compressor to check for hot spots that might indicate excessive wear, poor lubrication, or mechanical failure. A healthy compressor should show even temperature distribution, while abnormal heat patterns can signal problems.
- Check for refrigerant flow: Thermal imaging can help identify refrigerant flow problems within the compressor, such as blockages or low refrigerant levels, by showing uneven temperature distribution.
- Condenser Coils
The condenser coils are responsible for dissipating heat from the refrigerant to the surrounding environment. Any inefficiency here can lead to higher energy consumption and poor cooling performance.
- Scan for temperature variations: Use thermal imaging to inspect the condenser coils. The coils should show a consistent temperature gradient as heat is dissipated. Hot spots or uneven temperatures may indicate that the coils are blocked with dirt, debris, or damaged, leading to poor heat transfer.
- Check for airflow: Insufficient airflow through the condenser can also lead to overheating. Thermal imaging can identify areas with poor air circulation, which may be due to fan malfunctions or physical obstructions.
- Evaporator Coils
Evaporator coils are where the refrigerant absorbs heat from the refrigerated space, cooling the air inside.
- Look for even cooling: Thermal imaging should reveal uniform cooling across the evaporator coils. Cold spots in one area and warmer areas in another can indicate airflow problems, refrigerant leaks, or coil icing.
- Inspect for ice buildup: Ice forming on the evaporator coils reduces their efficiency. Thermal imaging will highlight these cold spots and allow technicians to address icing problems before they worsen.
- Refrigerant Lines
Refrigerant lines carry the refrigerant through the system, and leaks or blockages in these lines can seriously impair system performance.
- Detect leaks: Leaking refrigerant often causes localized cold spots on the refrigerant lines. Use thermal imaging to scan the lines for these cold anomalies, which may indicate a leak.
- Identify blockages: Blockages in the refrigerant lines will disrupt the temperature gradient along the line. By inspecting the refrigerant lines with a thermal camera, you can pinpoint blockages by spotting abrupt temperature changes.
- Expansion Valve
The expansion valve regulates the amount of refrigerant entering the evaporator. Faults in the valve can lead to inefficient cooling.
- Check for temperature drops: Use thermal imaging to examine the expansion valve and the lines connected to it. The valve should create a temperature drop as refrigerant moves from the condenser to the evaporator. If the temperature drop is too small or too large, it may indicate a problem with the valve.
- Electrical Components
The electrical components that power the refrigeration system can also be monitored with thermal imaging.
- Scan electrical connections: Electrical faults such as loose connections, overloaded circuits, or damaged wiring can cause overheating, which thermal cameras will highlight as hot spots. Inspect wiring, circuit boards, and electrical connections for any temperature anomalies.
- Check motors and fans: Motors driving fans or compressors can overheat due to mechanical issues or electrical faults. Use thermal imaging to inspect these components, ensuring they are operating within a safe temperature range.
- Steps for Using Thermal Imaging in Refrigeration Systems
- Preparation
- Ensure the system is running: For accurate thermal readings, the refrigeration system should be running under normal conditions. You want to capture the real-time temperature profile during operation.
- Set up your thermal camera: Ensure your thermal imaging camera is properly calibrated and set to the appropriate temperature range for refrigeration systems, which typically operate in cooler environments.
- Performing the Inspection
- Scan the compressor: Start with the compressor, checking for any abnormal hot spots or overheating, which could indicate mechanical wear or electrical faults.
- Inspect condenser coils: Move to the condenser coils and look for uniform heat dissipation. Identify any areas with restricted airflow or excessive heat, which may indicate dirt buildup or fan failure.
- Check evaporator coils: Scan the evaporator coils for even cooling distribution. Watch for cold spots due to icing or insufficient refrigerant flow.
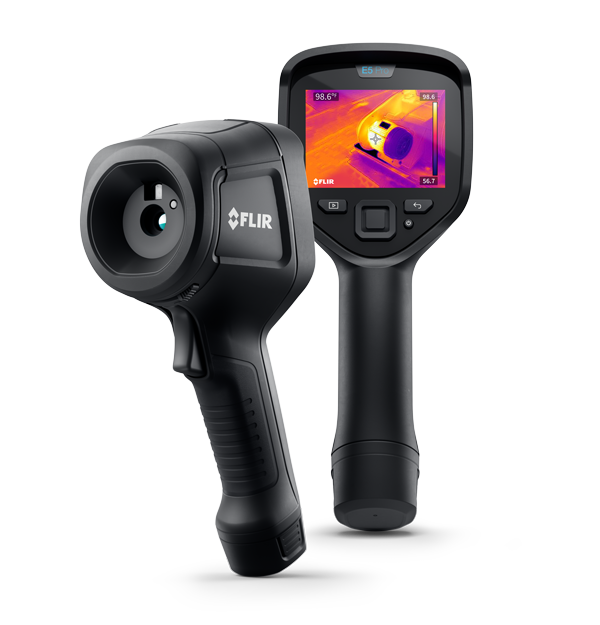
- Examine refrigerant lines: Follow the refrigerant lines with a thermal camera such as a Flir thermal camera looking for cold spots that could indicate leaks or blockages.
- Inspect the expansion valve: Ensure that the expansion valve is functioning correctly by checking the temperature drop between the valve and the evaporator.
- Inspect electrical components: Lastly, scan electrical connections, motors, and fans for overheating. Any unusual hot spots could signal potential failures or fire hazards.
- Analyzing Results
- Compare temperature patterns: Look for areas where the temperature pattern deviates from the expected gradient. Consistent temperature profiles across components usually indicate a well-functioning system, while hot or cold spots suggest problems.
- Use baseline data: If possible, compare your current readings with baseline data from previous inspections. This helps identify trends that may indicate gradual wear or developing issues.
- Document findings: Save thermal images and temperature readings for future comparison and reporting. Many thermal cameras allow you to capture and store data, making it easier to track the health of the refrigeration system over time.
- Common Issues Identified with an Infrared Thermal Camera
- Refrigerant leaks: Cold spots on refrigerant lines are a sign of refrigerant leaks, which can reduce cooling efficiency and increase energy consumption.
- Compressor overheating: Hot spots on the compressor indicate that it is overworked or failing, potentially due to low refrigerant levels or mechanical wear.
- Blocked condenser coils: Uneven temperatures on the condenser coils may signal a blockage that is preventing efficient heat dissipation.
- Evaporator icing: Cold spots on the evaporator coils may indicate ice buildup, which reduces the system’s ability to cool the air efficiently.
- Electrical faults: Hot spots in electrical connections or wiring can lead to equipment failure or even fire hazards if left unaddressed.
- Benefits of Using Thermal Imaging for Refrigeration Systems
- Early detection of issues: Thermal imaging allows you to identify problems such as refrigerant leaks, electrical faults, or component wear before they lead to complete system failures.
- Non-invasive: Inspections with a thermal camera are non-contact and non-invasive, allowing you to check the entire system without disrupting its operation.
- Improved efficiency: By identifying inefficiencies such as blocked coils or refrigerant leaks, thermal imaging helps optimize the performance of refrigeration systems, reducing energy consumption.
- Preventive maintenance: Regular thermal inspections can help prevent costly repairs or downtime by catching problems early.
- Best Practices for Thermal Imaging in Refrigeration Systems
- Conduct regular inspections: Integrate thermal imaging into your regular maintenance schedule to keep track of system health and address issues before they escalate.
- Monitor critical components: Pay special attention to high-risk areas such as compressors, evaporator coils, and refrigerant lines.
- Document and compare: Always save thermal images and temperature readings for future reference. Regular comparisons with previous inspections help you spot trends and potential problems over time.
Conclusion
Thermal imaging is a powerful diagnostic tool for refrigeration systems, offering insights into component performance and system efficiency. By using a thermal camera to inspect critical components such as compressors, evaporator coils, and refrigerant lines, you can detect potential issues early, reduce energy consumption, and improve the longevity of your refrigeration system. Regular thermal inspections can help ensure optimal performance and prevent costly breakdowns. Get in contact to discuss heat camera hire options that you can charge extra for!