An infrared thermal imaging camera is an essential tool for HVAC contractors to detect air leaks in ductwork efficiently. These leaks can cause significant energy loss, poor system performance, and customer dissatisfaction. This guide will take you through the step-by-step process of using thermal imaging to locate and fix ductwork leaks.
Step 1: Understanding Thermal Imaging for Ductwork
A thermal infrared camera detects heat differences, providing a clear visual of air leaks in HVAC systems. Duct leakage often appears as contrasting colors where conditioned air (cool or warm) escapes into unconditioned spaces, or where external air infiltrates the system.
What You Need:
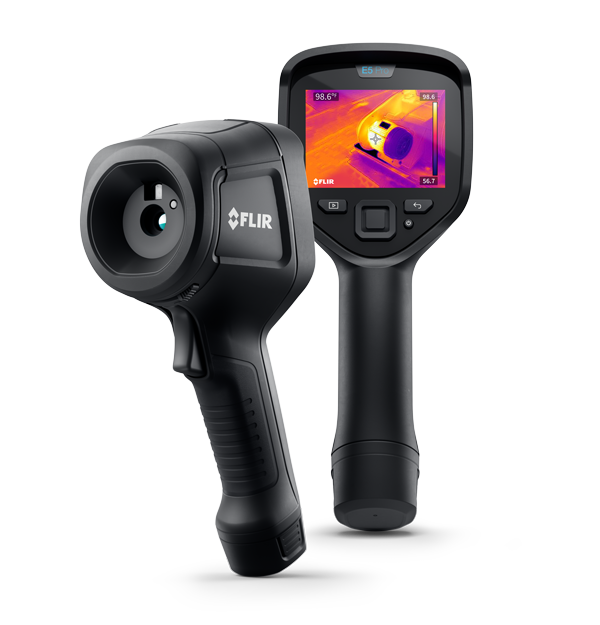
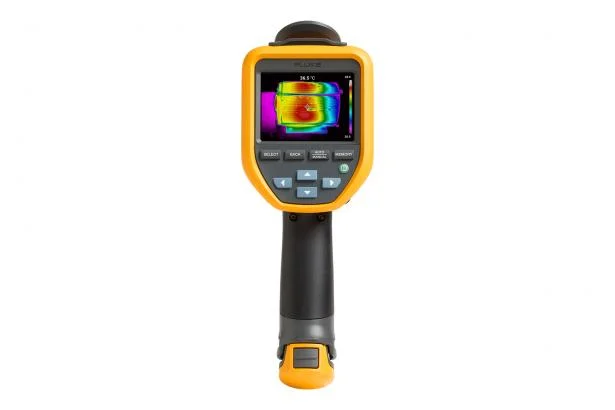
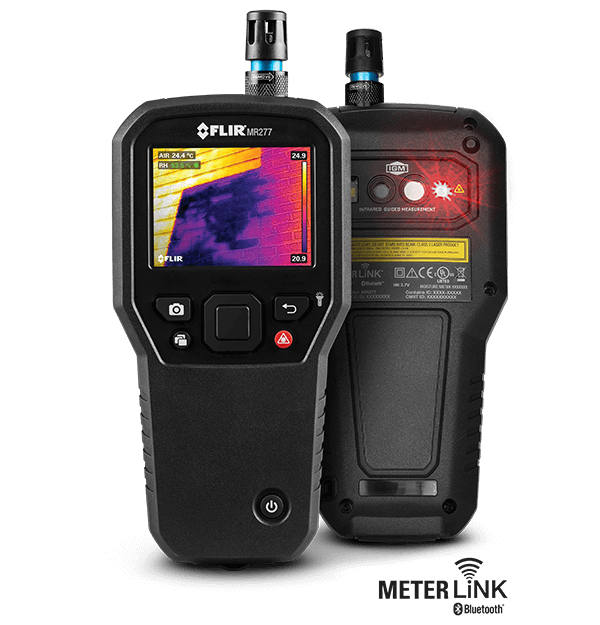
- A thermal image camera (ensure it’s calibrated for HVAC use)
- Access to the building’s HVAC system
- Knowledge of the duct layout (blueprints can be helpful)
- Appropriate safety gear (gloves, protective eyewear, etc.)
- Tools for repairing leaks (duct sealing tape, mastic, or insulation)
Step 2: Prepare the HVAC System
Before starting, ensure the system is operational and set to deliver a noticeable temperature difference between the air inside the ducts and the ambient air outside them. For example, if you are inspecting for cooling leaks, the air in the ducts should be cooler than the surrounding environment, and vice versa for heating leaks.
- Turn on the HVAC system:Set it to either heating or cooling mode, depending on the season or type of inspection.
- Let the system run:Allow the system to run for at least 15-30 minutes before starting the thermal scan. This ensures a clear thermal difference for leak detection.
Step 3: Set Up the Thermal Camera
- Calibration:Make sure the camera is properly calibrated. Most modern cameras auto-calibrate, but if yours requires manual calibration, follow the manufacturer’s instructions.
- Choose the right color palette:Many cameras offer different color palettes (rainbow, grayscale, etc.). Select a palette that makes temperature differences stand out clearly.
- Adjust settings:Some cameras allow you to set a specific temperature range. Narrow the range around the expected temperature of the ductwork for clearer results.
Step 4: Perform the Inspection
Now that everything is set up, you can begin scanning the ductwork for leaks.
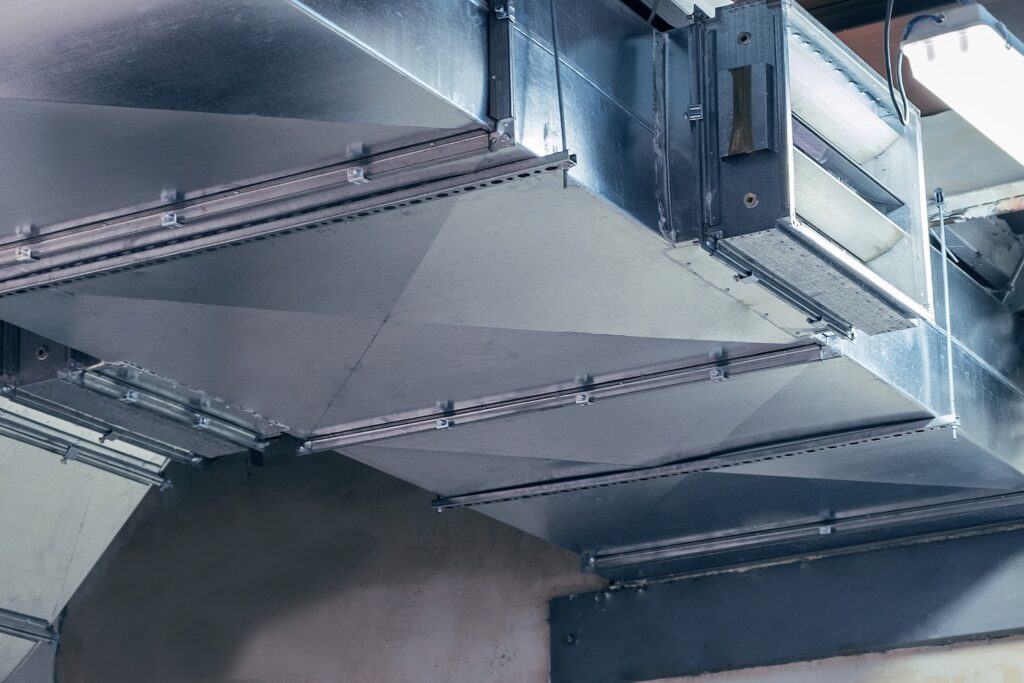
Target Areas to Scan:
- Connections and joints:Leaks are common where sections of ductwork are joined.
- Bends and elbows:These areas experience more wear and tear due to airflow dynamics, making them prone to leaks.
- Plenums and air handler connections:The connection between the ducts and the air handler or plenum box is another area prone to leaks.
- Duct insulation seams:Any poorly sealed seams in insulated ducts are likely spots for air leakage.
How to Scan:
- Systematically cover all areas:Move the thermal camera slowly along the ducts, ensuring you don’t miss any sections.
- Focus on potential weak points:Pay extra attention to areas where the ductwork meets walls, floors, or ceilings, as these points are prone to pressure imbalances.
- Watch for temperature anomalies:Air leaks will usually appear as hotspots (in cooling mode) or cool spots (in heating mode). These temperature differences indicate air escaping or entering the ductwork.
Document Findings:
- Take images or video:Most thermal cameras allow you to capture images or record videos. Document the areas where you find leaks.
- Note the severity of leaks:Some leaks will be small and easy to repair, while others may be more severe and require more significant intervention.
Step 5: Interpret the Results
After completing the scan, review the thermal images.
- Hot and cold spots:In cooling mode, cold spots represent air leaking out, while warm spots could indicate infiltration of warm air. In heating mode, the reverse is true.
- Compare sections:If possible, compare images of similar sections of ductwork. A consistent temperature pattern in one area compared to an anomaly in another can help confirm a leak.
Step 6: Repair the Leaks
Once leaks have been identified using the thermal camera, they need to be repaired to restore the system’s efficiency.
Step 7: Post-Repair Thermal Scan
After repairing the identified leaks, run the HVAC system again and perform another thermal scan to confirm that the leaks are fully sealed.
You may also wish to perform a duct air leakage test using current industry methods
- Reinspect problem areas:Focus the camera on the spots where leaks were previously detected to ensure they no longer show temperature anomalies.
- Check for new leaks:Sometimes, fixing one leak can cause changes in air pressure that reveal other leaks. Perform a full scan to ensure the entire system is airtight.
Step 8: Provide a Report
Document your findings and repairs for the customer. Providing a professional report with before-and-after thermal images helps build trust and demonstrates the value of your service.
What to Include in the Report:
- Description of the areas where leaks were found
- Thermal images showing leaks
- Description of the repairs made
- Thermal images after repairs to show successful sealing
- Recommendations for any additional ductwork maintenance
Step 9: Offer Preventative Maintenance
Finally, suggest a regular maintenance schedule to your client to prevent future leaks. Regular inspections with thermal imaging can catch small leaks before they become larger issues, ensuring optimal HVAC system performance.
Conclusion and thermal camera hire
Thermal imaging is an invaluable tool for HVAC contractors when it comes to detecting and fixing ductwork leaks. By following this step-by-step guide, you can enhance your leak detection process, improve system efficiency, and provide your clients with cost-effective, high-quality service. Regular use of thermal imaging as part of your routine HVAC maintenance can significantly reduce energy losses and extend the life of your clients’ HVAC systems. Please connect with our HVAC engineer to discuss your project and thermal imaging rental options to suit your needs.