Proper ductwork insulation is critical for maintaining energy efficiency in HVAC systems. Insulation helps prevent heat loss or gain, ensuring that the conditioned air remains at the desired temperature as it travels through the ductwork. Using thermal imaging can help HVAC contractors detect areas where duct insulation is inadequate, damaged, or missing. This guide will walk you through the step-by-step process of using infrared ( ir) thermal imaging to inspect ductwork insulation.
Step 1: Understanding ir thermal imaging for Duct Insulation
Thermal imaging cameras detect variations in surface temperatures, making them ideal for spotting insulation issues. When insulation is damaged or missing, it will show up as temperature anomalies on the thermal camera, indicating heat loss or gain through the duct walls.
What You Need:
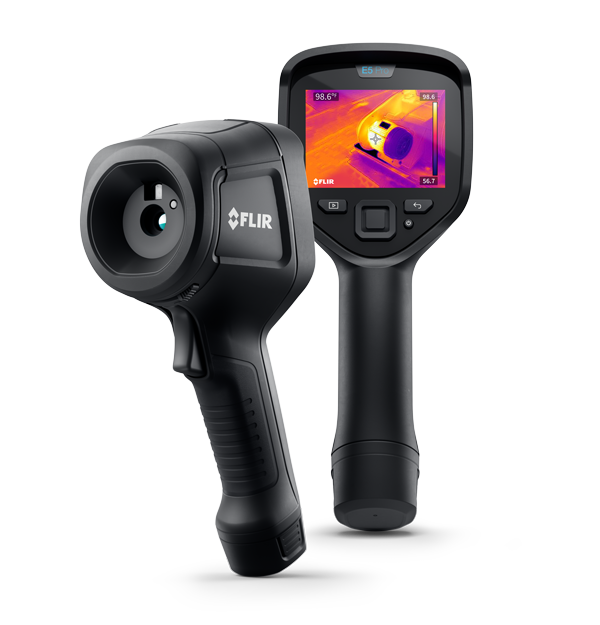
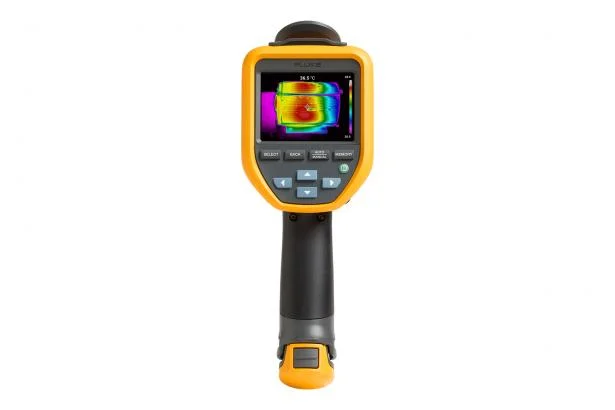
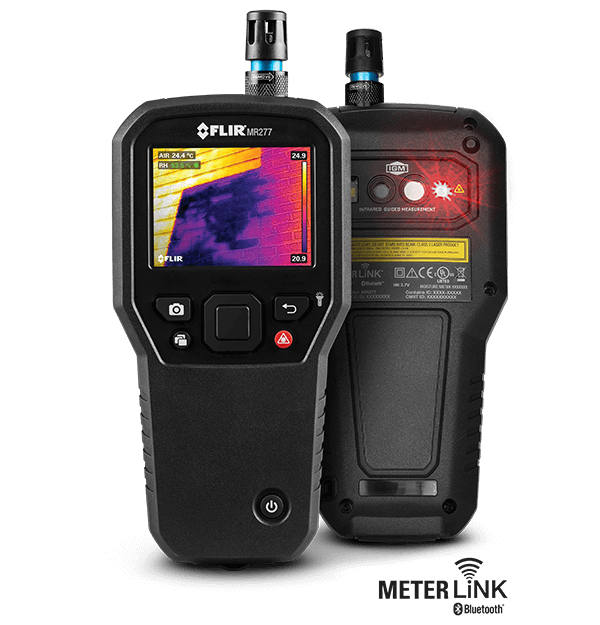
- A thermal imaging camera
- Access to the HVAC system’s ductwork
- Knowledge of the duct layout and insulation specifications
- Tools and materials for insulation repair (insulation wrap, fiberglass, mastic, or foil tape)
- Appropriate safety gear
Step 2: Prepare the HVAC System
To effectively use thermal imaging for insulation inspection, the HVAC system must be running so that the temperature inside the ducts is different from the surrounding air.
- Turn on the HVAC system:Set it to either heating or cooling mode, depending on the system and season.
- Allow it to stabilize:Let the system run for 15-30 minutes to create a clear temperature difference between the conditioned air in the ducts and the surrounding environment.
Step 3: Set Up the IR Thermal Imaging Camera
Before starting the inspection, ensure that your thermal imaging camera is correctly set up.
- Calibration:Make sure the camera is calibrated for the specific temperature range expected during the inspection.
- Choose the correct color palette:Some palettes highlight temperature differences better than others. For insulation inspections, a high-contrast palette often works well.
- Temperature range settings:If your camera allows it, set the temperature range to focus on the expected duct and ambient temperatures for better clarity
Step 4: Perform the Thermal Imaging Inspection
With the HVAC system running and the thermal camera set up, it’s time to begin the scan.
Target Areas for Inspection:
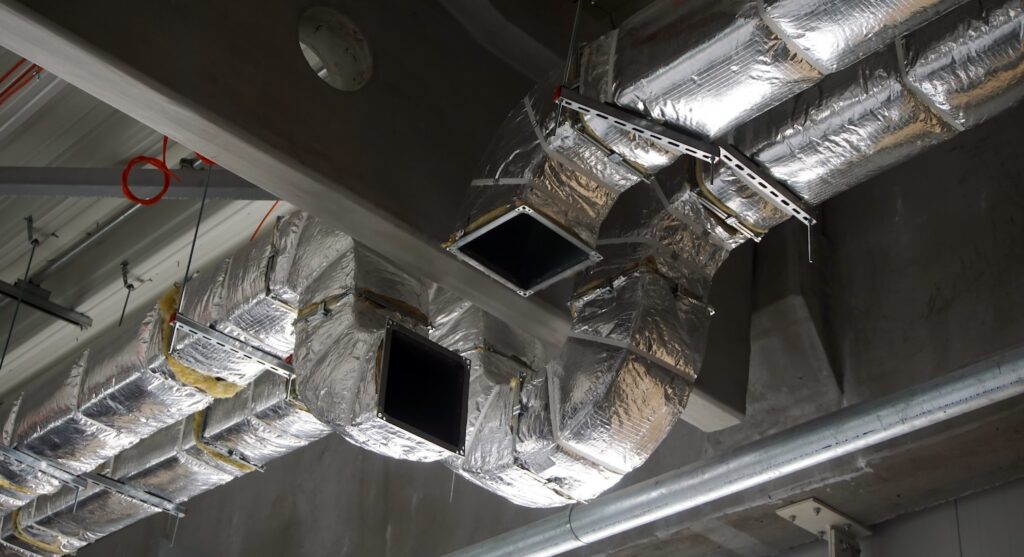
- Exposed duct sections:Start by inspecting any duct sections that are visible, such as those in attics, basements, or crawl spaces.
- Elbows, bends, and joints:These areas are more susceptible to insulation damage due to stress from airflow and movement.
- Ducts near unconditioned spaces:Areas where ductwork passes through uninsulated or unconditioned spaces (like attics or basements) are particularly important to inspect.
How to Scan:
- Move systematically:Slowly move the camera along the length of the ducts, making sure to cover all surfaces. Pay attention to areas where temperature anomalies appear.
- Watch for hot or cold spots:In cooling mode, heat gain from inadequate insulation will show up as warm spots, while in heating mode, heat loss will show up as cold spots.
- Check insulation coverage:Missing or damaged insulation will appear as clear temperature differences between well-insulated and poorly insulated sections of ductwork.
Step 5: Interpret the Thermal Imaging Results
After scanning the ductwork, review the images or video footage to identify potential insulation issues. Consider using a comprehensive software package such as flir thermal studio to support your analysis and reporting.
Temperature Anomalies:
- Hot spots (in cooling mode):These indicate areas where warm air from the surrounding environment is infiltrating the ductwork, signaling poor or missing insulation.
- Cold spots (in heating mode):These are indicative of heat loss from the ductwork, again suggesting insulation problems.
- Uniformity of the temperature pattern:Well-insulated ductwork should have a consistent temperature across its surface, with minimal heat transfer from the surrounding environment.
Step 6: Repair or Replace Insulation
Once you’ve identified areas with inadequate or damaged insulation, it’s time to make repairs.
Types of Insulation Repair:
- Wrap insulation:For ductwork that lacks sufficient insulation, apply a new layer of fiberglass or foam insulation wrap. Ensure the insulation is securely fastened with foil tape or mastic.
- Insulation sleeves:For areas where existing insulation is damaged, replace it with pre-formed insulation sleeves designed for ductwork. These sleeves provide continuous coverage and are easy to install.
- Seal insulation seams:If insulation seams are loose or open, reseal them using foil-backed HVAC tape or mastic sealant to prevent air leaks and improve thermal efficiency.
- Additional insulation layers:In cases where insulation is thin or worn, consider adding an additional layer to meet energy efficiency standards.
Step 7: Post-Repair Thermal Scan
After completing insulation repairs or upgrades, perform a second thermal scan to verify that the repairs were successful.
- Reinspect problem areas:Focus on the areas where insulation issues were previously detected to ensure the temperature anomalies no longer exist.
- Check for consistency:Ensure that all insulated sections of the ductwork now show a consistent temperature pattern, with no hot or cold spots.
Step 8: Document the Inspection and Repairs to Insulated Ducting
Providing a detailed report for your client not only helps them understand the work performed but also serves as a record for future maintenance.
What to Include in the Report:
- Before and after thermal images
- Description of the insulation issues found
- Detailed explanation of the repairs made (e.g., insulation type, thickness, sealing method)
- Any recommendations for ongoing ductwork maintenance or future insulation upgrades
Step 9: Advise on Preventative Maintenance
Duct insulation can deteriorate over time due to environmental factors, such as moisture, pests, or normal wear and tear. Advise your clients to schedule regular thermal imaging inspections to maintain optimal energy efficiency and prevent costly repairs.
Recommendations:
- Annual inspections:Suggest a yearly thermal imaging scan, especially for homes in extreme climates where temperature differences put more strain on HVAC systems.
- Moisture control:Encourage homeowners to manage humidity levels in basements or crawl spaces, which can degrade insulation.
- Pest protection:Recommend pest control measures if the ducts pass through attics or basements where pests could damage the insulation.
Conclusion and Thermographic Camera Rental
Thermal imaging is an effective, non-invasive tool for identifying insulation problems in ductwork. By following this guide, HVAC contractors can accurately assess insulation performance, recommend repairs, and help clients improve the energy efficiency of their HVAC systems. Regular thermal imaging inspections ensure that ductwork remains properly insulated, reducing energy loss and enhancing overall system performance. Have a chat to our HVAC engineer about your application and how tool hire can support your business.